Maintaining your vaping device is crucial for ensuring a satisfying experience. One key aspect of this maintenance is the regular cleaning of your rebuildable dripping atomizer (RDA) coils.
These coils are the heart of your vaping device, playing a pivotal role in vapor production and flavor delivery. Over time, they accumulate residue from e-liquids, which can significantly diminish their efficiency and affect the taste of your vape.
Knowing when to clean these components is as important as understanding how to do it. Typically, a noticeable decrease in vapor production or a persistent burnt taste signals that it’s time for a thorough cleaning. This process not only restores the performance of your coils but also extends their lifespan, saving you money and hassle in the long run.
Step 1: Disassemble Your RDA
Before you begin, ensure your device is turned off and disconnected from any power source. This is a safety precaution that cannot be overstressed. Working on an active or powered device can lead to accidents or damage.
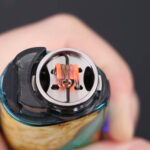
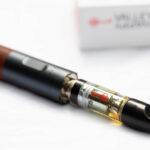
Start by carefully removing the RDA from your vaping device. This is usually achieved by unscrewing it from the mod. It’s essential to handle your RDA gently to prevent any threads from stripping or damage to the connection points.
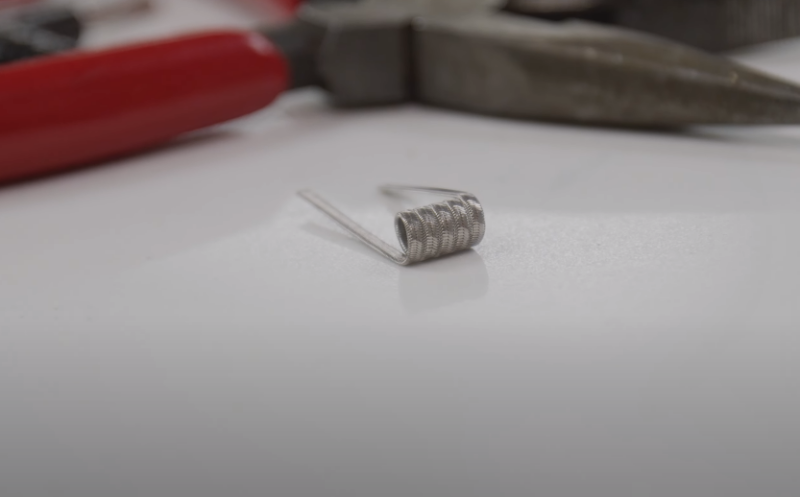
Once removed, proceed to disassemble the RDA into its individual components. Typically, this includes the drip tip, top cap, barrel, deck, and, most importantly, the coils themselves. Each part should be handled with care and placed on a clean, soft surface to avoid loss or damage.
Tools Required
The tools needed for this task are relatively simple. A set of precision screwdrivers is essential for removing any screws, especially those securing the coils to the deck. Tweezers can be helpful for handling small parts, and a small container or magnetic parts tray can be invaluable for keeping everything organized and preventing loss.
When using these tools, it’s important to apply the right amount of force. Over-tightening screws when reassembling can strip threads, while being too gentle might not secure the components adequately. Familiarize yourself with the feel of each component as you work with it.
Step 2: Dry Burning
Dry burning is a method where you lightly heat the coils without any e-liquid to burn off residue. It’s a delicate process that requires careful attention to avoid damaging the coils. Ensure your RDA is securely attached to a mod that’s capable of firing it, and that all wicking material has been removed from the coils.
Begin by setting your mod to a low power setting. Gradually increase the power in small increments until the coils start to glow. It’s crucial to avoid overheating, as this can cause the coils to warp or break. The glow should be even and start from the center of the coil, spreading outwards.
As you dry burn the coils, you’ll notice residue starting to burn off. This is often visible as a small amount of smoke or vapor. Once the coils are glowing evenly, let them cool down before inspecting them. If there’s still visible residue, you may repeat the process.
How it Will React?
During the dry burning process, observe the color changes in the coils. A healthy coil should glow a dull red or orange, but if you notice any blue or green hues, this could indicate the presence of contaminants or damage to the coil.
Additionally, listen for any popping sounds, as these can signify that the coil is uneven or has hot spots. If you find that the coils are heating unevenly, you may need to adjust them.
This can be done using ceramic tweezers to gently pinch and manipulate the coils while they are cool. Ensuring that the coils are aligned and spaced correctly is key to achieving an even burn and, consequently, a more efficient cleaning process.
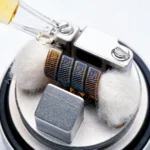
Step 3: Remove Residue
Residue removal is a delicate process that requires both care and precision. It involves physically cleaning the coils and the deck of your RDA to remove any ash or burnt e-liquid remnants that dry burning may have loosened but not entirely eliminated.
Begin by preparing a small bowl of warm water. You can add a few drops of dish soap for extra cleaning power. Gently detach the coils from the RDA and submerge them in the water. If the coils are not easily removable, you can instead dip the entire deck in the water. Use a soft brush, like a toothbrush, to gently scrub the coils.
For more persistent grime, you might consider using a specialized coil cleaning solution available in the market. These solutions are designed to break down residue without harming the metal of the coils. Soak the coils in the solution according to the manufacturer’s instructions, then rinse thoroughly with water.
What Are the Best Practices?
When cleaning, it’s essential to handle the coils and the RDA deck with care. Avoid using metal tools or abrasive materials that could scratch or damage the surface. Scratches can not only affect the performance but also become hotspots for future residue accumulation.
After cleaning, rinse the coils and deck thoroughly under running water to remove any soap or cleaning solution. This step is crucial to ensure that no cleaning agents are left behind. Once rinsed, gently shake off excess water and prepare for the drying process. Combine this with parallel coil build and you will ensure even better experience.
Step 4: Rinse and Dry
Proper rinsing and drying of the coils are as important as the cleaning process itself. Residual water or cleaning solutions can lead to issues such as spit-back or unpleasant flavors when vaping. Therefore, it’s essential to be thorough in this stage. Start by rinsing the coils under running water.
Ensure that the water flow is gentle to avoid damaging the coils. Rotate and flip the coils during rinsing to make sure all sides are adequately cleaned. If your coils are still attached to the deck, hold the RDA in a way that allows water to run through the coils without pooling on the deck. This helps in removing any remaining cleaning solution or loosened residue.
After rinsing, gently shake off any excess water from the coils and the RDA. Next, use a soft, lint-free cloth or a paper towel to pat them dry. Be gentle to avoid deforming the coils. It’s important to remove as much water as possible in this step before moving on to air drying.
How to Ensure Complete Dryness?
The importance of completely drying the coils cannot be overstated. Any remaining moisture can cause short-circuiting or rapid deterioration of the coils when you start vaping. Leave the coils and the RDA in a well-ventilated area to air dry.
Check the coils and the deck periodically as they dry. Touch them to ensure they are completely dry. Pay special attention to the nooks and crannies where water might be trapped. Once you are confident that the coils and the RDA are dry, you are ready to reassemble your device.
Step 5: Reassemble and Test
Reassembling requires attention to detail and precision. It’s important to ensure that all parts are dry and that they fit back together correctly. A properly reassembled RDA will provide a better vaping experience and prevent potential issues.
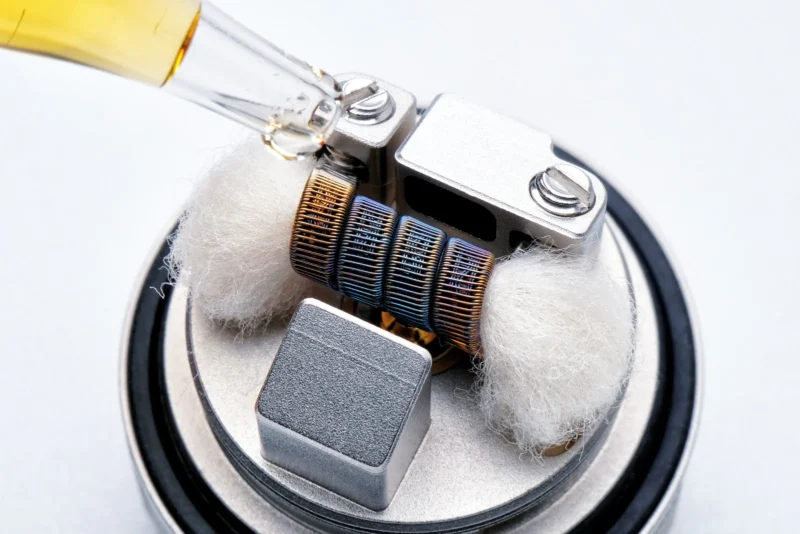
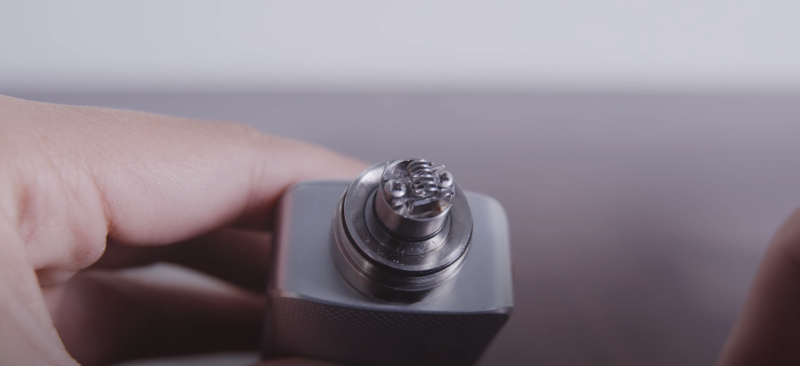
Begin by carefully placing the coils back onto the deck, if you removed them earlier. Secure them in place by tightening the screws, but be careful not to overtighten, as this can strip the threads or damage the coils. Once the coils are secured, it’s time to re-wick.
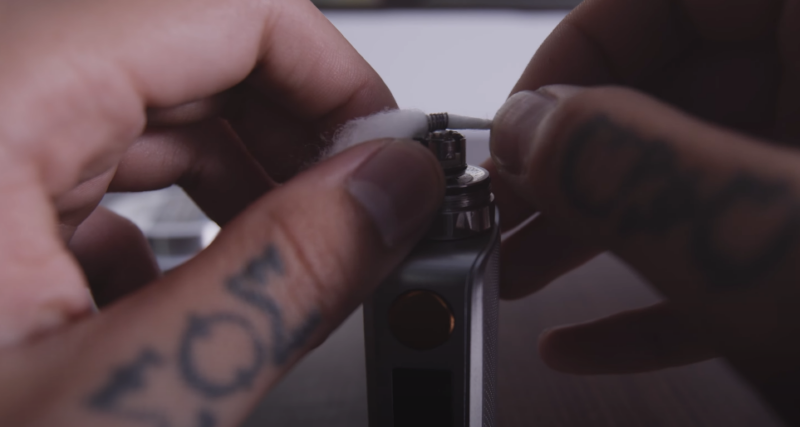
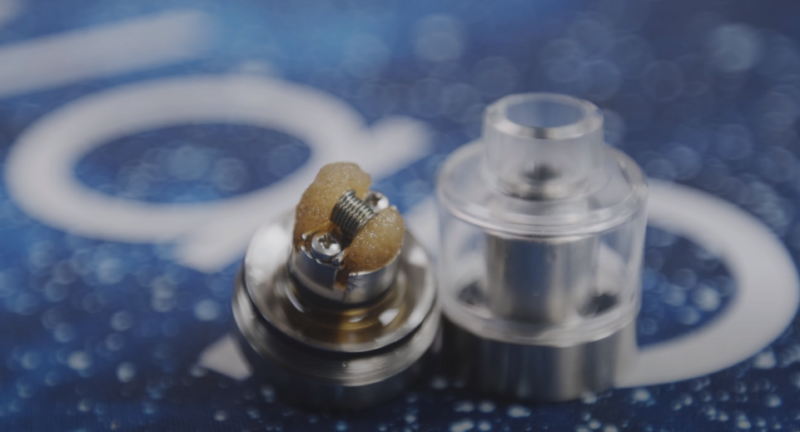
Cut your wicking material to the appropriate length, thread it through the coils, and tuck the ends into the juice well. After re-wicking, prime the coils by applying a small amount of e-liquid directly onto the wick and coils. This helps to saturate the wick and avoid dry hits.
Additional Tips
Before using your RDA, it’s advisable to conduct a test fire. This can be done by firing the mod at a low wattage and gradually increasing it. This process helps to ensure that the coils are heating evenly and there are no short circuits. Observe the vapor production and listen for any unusual sounds. Uneven heating or sizzling sounds can indicate a problem with the coil installation or wicking.
FAQs
Can I use rubbing alcohol instead of water for cleaning my RDA coils?
Yes, you can use rubbing alcohol as it’s effective in breaking down e-liquid residue. However, ensure that the coils are completely dry and free from any alcohol residue before reassembling and using them.
How often should I clean my RDA coils?
The frequency of cleaning depends on how often you vape. As a general rule, it’s advisable to clean your coils every 1-2 weeks to maintain optimal performance and flavor.
Is it safe to dry burn nickel or titanium coils?
No, it’s not recommended to dry burn nickel (Ni200) or titanium (Ti) coils as it can release harmful chemicals. These types of coils should be cleaned using alternative methods.
Can I use any kind of brush to scrub the coils during cleaning?
It’s best to use a soft-bristle brush, like a toothbrush, to avoid damaging the coils. Metal brushes or abrasive materials should be avoided as they can scratch and damage the coil’s surface.
After reassembling my RDA, I’m getting a burnt taste. What could be the reason?
A burnt taste after reassembling could be due to insufficient priming of the wick, too high wattage setting, or not allowing the wick to fully saturate with e-liquid before vaping. Ensure the wick is properly saturated and start with a lower wattage to avoid burning the wick.
Last Words
Regular cleaning not only enhances the flavor and vapor production but also extends the lifespan of your coils, making your vaping experience both enjoyable and cost-effective.
Remember, the frequency of cleaning depends on your usage, and being attentive to the condition of your coils will help you determine when it’s time for a clean or a replacement. With these tips and techniques, you’re now equipped to keep your RDA coils in pristine condition, ensuring a consistently high-quality vape every time.