The Juul is basically the hottest vaping pod system in the world right now. Its sleek form factor and non-cylindrical design are appealing to a wide range of vapers, and the pod system seems perfectly designed for folks with busy lifestyles who don’t want to slow down and fill a tank.
But what if you want to refill your Juul pod instead of buying new ones? Good news – that’s totally doable. Today, we’ll explain how.
How to Refill Your Juul Pod
You might be wondering why you’d want to refill a Juul pod in the first place. After all, isn’t one of the selling points of the device how easy it is to just slap in a new pod and go about your vaping business?
Here’s the thing, though. If you simply buy new pods every time you need one it gets expensive (Juul pods aren’t particularly cheap), and you’re limited to their flavors. One of the joys of vaping is that there’s a veritable rainbow of flavors out there. Why settle for a measly handful?
The good news is that doesn’t take a whole lot of time, skill, or money to refill a Juul pod. Following these simple steps will open up your device to a whole new world of flavors.
While learning how to refill your Juul pod in three easy steps, you may also be interested in discovering the potential effects of switching from smoking to vaping in our informative article on the subject.
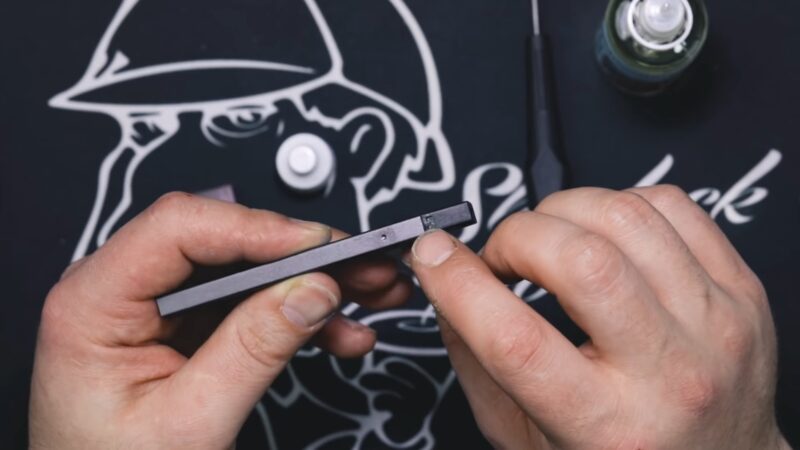
Step 1: Disassembly
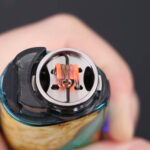
The first thing you need to do is remove the cartridge from the device. If the Juul pod isn’t empty, you’re going to want to go ahead and dump the juice. You’re also going to want to clean it out so you don’t get ghost flavors mixing with your new ones.
Once you’ve done this, the first step is to pull of the black plastic top of the pod. While these things are fairly sturdy, they’re not indestructible, so use caution. If this is your first time removing this piece of the pod, expect a bit of resistance.
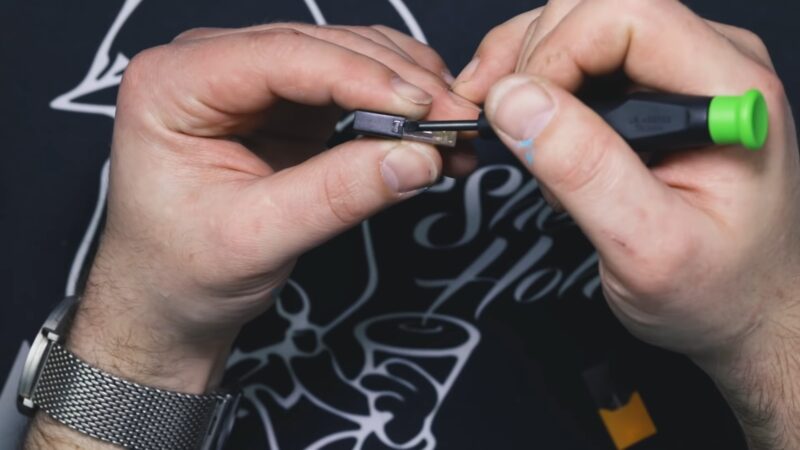
You can get around this by using a flat head screwdriver to pry the side of the black piece up over the little pin that holds it in place. Just don’t stab your finger with the screwdriver – because that sucks. Repeat this process on the other side, and voila – the cap is off.
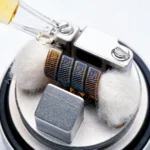
Next, you’ll encounter a little rubber piece inside the pod. After removing the cap to get here, taking this thing out is pretty simple (just make a mental note of which side is up before you remove it). Gently pull it out and set it aside (don’t lose it!).
Step 2: Fill ‘Er Up!
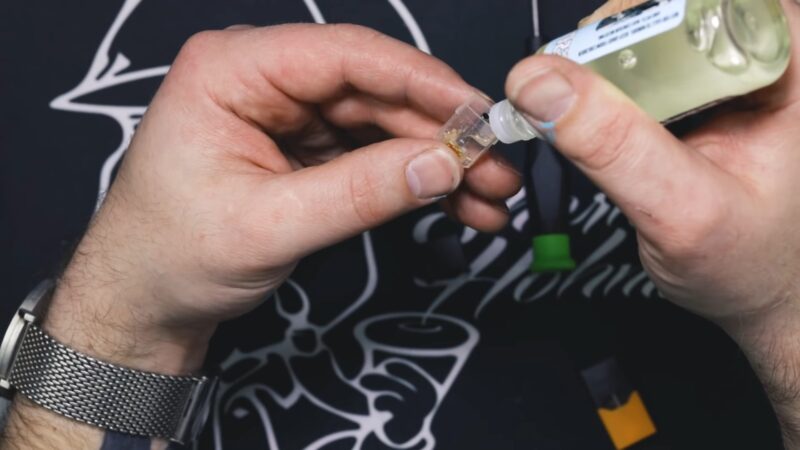
Now we’re getting to the good stuff. The pod is open, and you can insert the e-juice of your choice. If you want to make life easier, buy an e-liquid with a needle cap like this. Otherwise, getting the liquid into that tiny little pod is going to lead to more spilled liquid than you’ll actually vape. Don’t be that guy who spills his liquid everywhere…
You’ll notice a line near the top of the pod – you don’t want to fill the cartridge above this level. The black rubber piece has to go back in, so filling over the line creates a problem.
Carefully inject the juice, then when the pod is full of delicious liquid, prepare to re-assemble the device and enjoy.
Step 3: Putting it back together
Really, the only thing to do here is reverse the disassembly instructions above.
Put the black rubber piece back in. Make sure it’s right side up. Don’t force it in – you want to be able to get it out for the next refill.
After that, reattach the black piece, getting it back over the little prongs. Then give it a few minutes to let the juice soak in and vape away. Congrats – you’ve now learned how to refill your Juul pod. Enjoy saving money and the wide range of flavors now available to you when using this device.